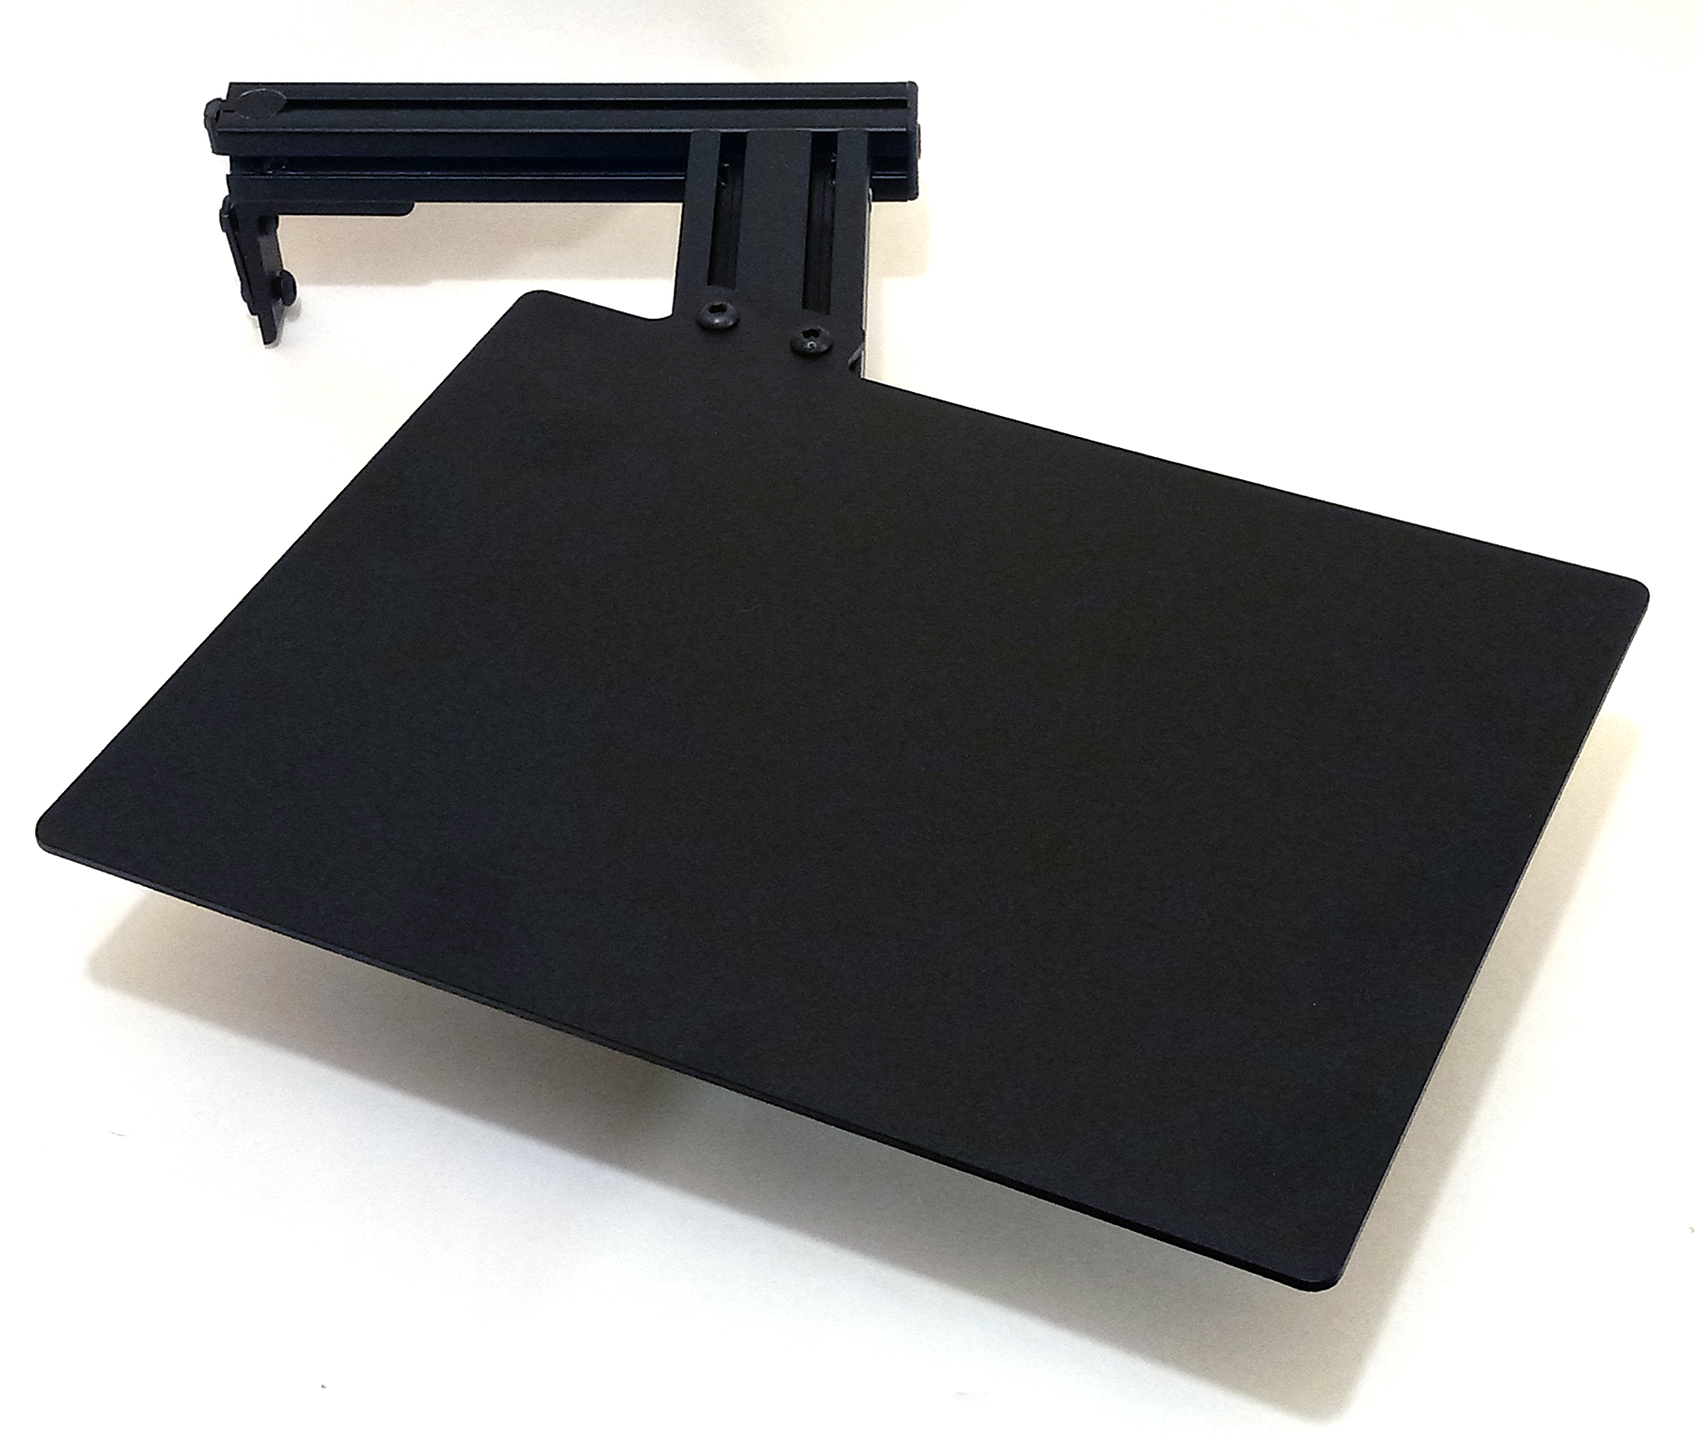
Now that you've successfully attached the Predator Attachment Frame for the MousePad Attachment, locate the top plate and screws that you removed from the mount before installation of the frame, and use the 5/32" allen wrench to connect the top plate back to the mount (use the same screws you took off with the mount top plate). After you installed the Mount Top Plate back onto the Desk/Table Mount, go ahead and clamp it to the Desk/Table that you had it originally clamped to. Take the MousePad Attachment Plate, the last 2 screws that came with the package, and the 5/32" allen wrench, and install the MousePad Attachment Plate like in the pictures above. You're finished product should look like the picture on the right. You are finished with the installation of the Predator MousePad Attachment!
(NOTE: Your Predator MousePad Attachment has the ability to adjust 4 different ways: UP/DOWN, LEFT/RIGHT, FORWARDS/BACKWARDS, and SWIVEL. For best results, only adjust ONE aspect at a time, i.e. adjust the height of the MousePad Attachment by loosening the top-side anchor fastener in the CrossBeam, then loosening the 2 screws in the L-Bracket that connect it to the vertical beam of your mount. Slide the Attachment up or down to the desired height, and re-tighten the L-Bracket and top-side anchor fastener. When adjusting the MousePad Attachment, adjust only ONE aspect at a time, for the best result)


